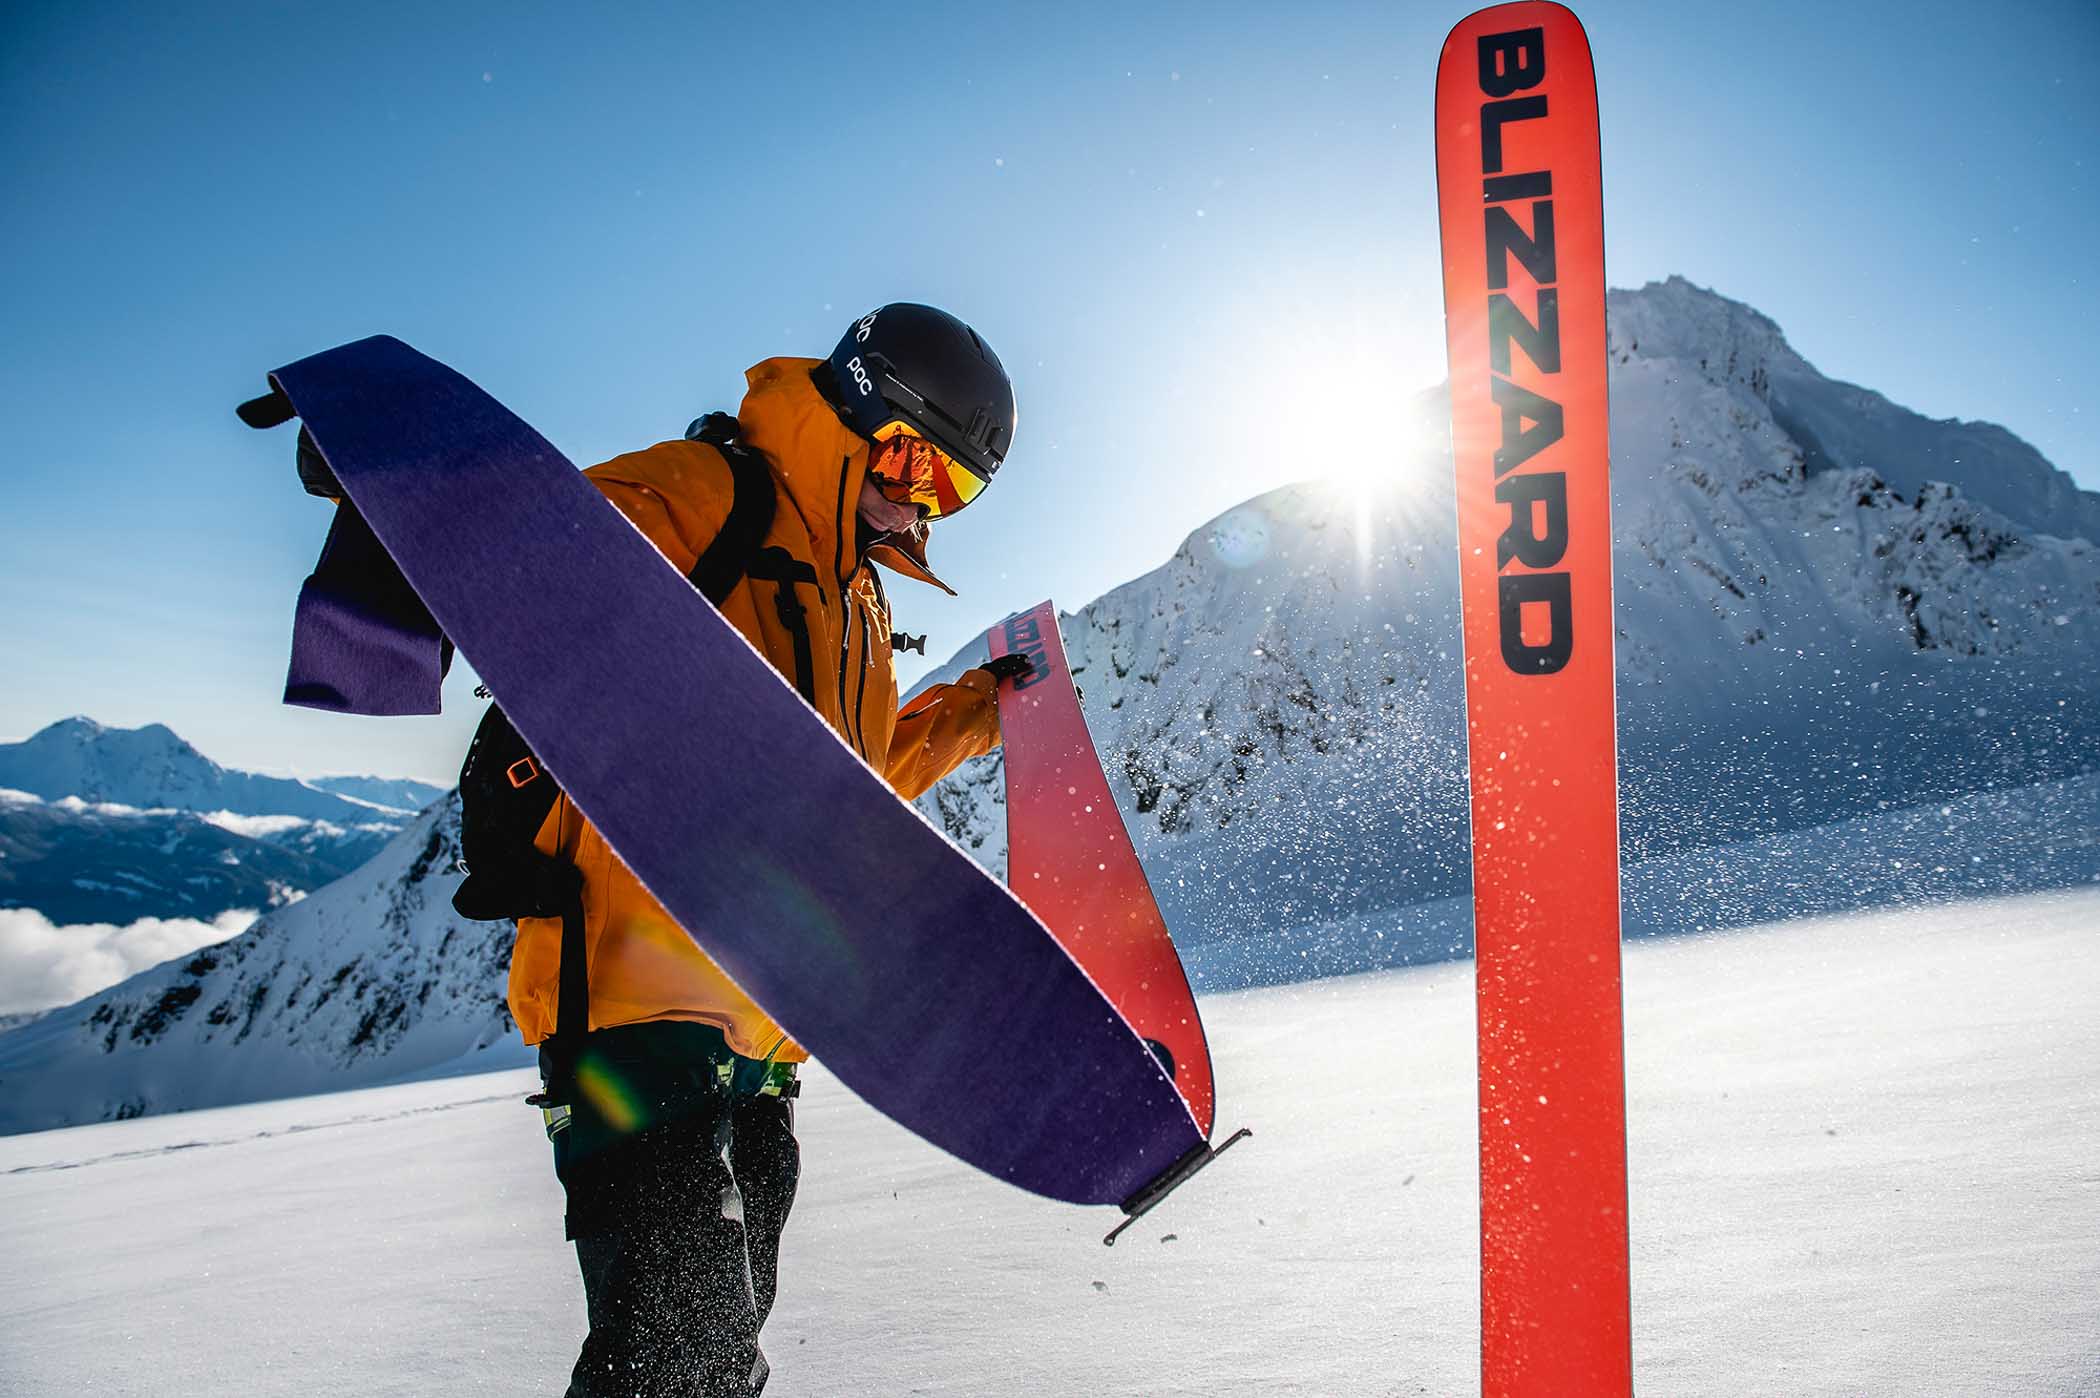
Skin care (not the beauty kind)
Martin Chester on how to keep your skins in tip-top nick


Climbing skins are a miracle of adhesive technology. Think about it: we want to glue a piece of fabric to the slippery-waxy base of our skis. We want it to stick all the way up, as we drag it through the snow, yet come off (without leaving a trace of glue) every time. Whether it is +20°C in the heat of the spring sun or -20°C in the depths of winter. Amazing!
So our skins deserve a bit of respect. Here are our tips for keeping your skins attached on big days out seeking the deep stuff.
❄ Choosing and fitting skins
The enemy of secure skins is getting snow between the glue and the base. So a well-cut skin, that perfectly fits the base, leaving only the edges exposed, is the first priority. There is a wide range of skin fittings on the market, but try and find the best for your ski/skin combination. You want a tip fix that keeps the skin as flat as possible (no gaps to let snow in) and is bombproof in preventing you from kicking the tip of one skin off with the other (it happens). So choose the best shape and the lowest profile you can find.
❄ Putting skins on
The mantra here is ‘the warmer, the stickier’. So develop a routine that keeps your skins out of the weather for as long as possible– and gets them onto warm bases as quickly as possible. I shove my skins down my top while I clean my skis and stand them up to face the full heat of the sun while I sort my boots and bindings out. Then I go to work – whipping out one skin at a time and fitting it (with pedantic attention to detail) as quickly as possible. Smoothing them on (friction is another source of heat) before laying them gently in the snow, ready to jump aboard.
❄ Taking skins off
Here is where the cold is on our side, for once – so leave them in the snow until the last minute. Then whip them up and off, without dangling the skins in the snow. Especially if you want them to go back on again soon! If you use cheat sheets, then use the ski base as a work surface on which to fold them. Alternatively, a skin sock makes fast removal (even on stormy days) a doddle. Get the skins protected from the weather (and the glue from fleecy fibres) as quick as you can. I keep them down my jacket if I want to warm and dry them for the next lap.
❄ Looking after skins between times
Some skins need cheat sheets (that nylon mesh that keeps them clean and stops them sticking together while they dry out), some don’t. Either way you need to keep the glue clean and beware sticking them together (alas – forever more) unless you have the right adhesive system. Check your instructions carefully!
❄ Remember…
‘The warmer, the stickier’ so don’t dry them on a radiator (and you will never see mine hanging by the fire, with hundreds of others, in a hut). Don’t be lazy either: a skin left on a ski overnight in a ski/boot room, might never come off again. At best, it will leave a trail of glue on your base that may ruin your skiing until you get to a workshop with the right solvents. This stuff really sticks! Likewise, amateur re-gluing can be a disaster. Only use the iron-on rolls and consider taking them to a workshop who specialise in this.