Hot To: Get out of trouble


Toward the end of last season, a regular day on the Haute Route turned into the most serious ski-touring incident in recent years. There are valuable lessons we can learn about how to avoid, and cope with, this kind of scenario.
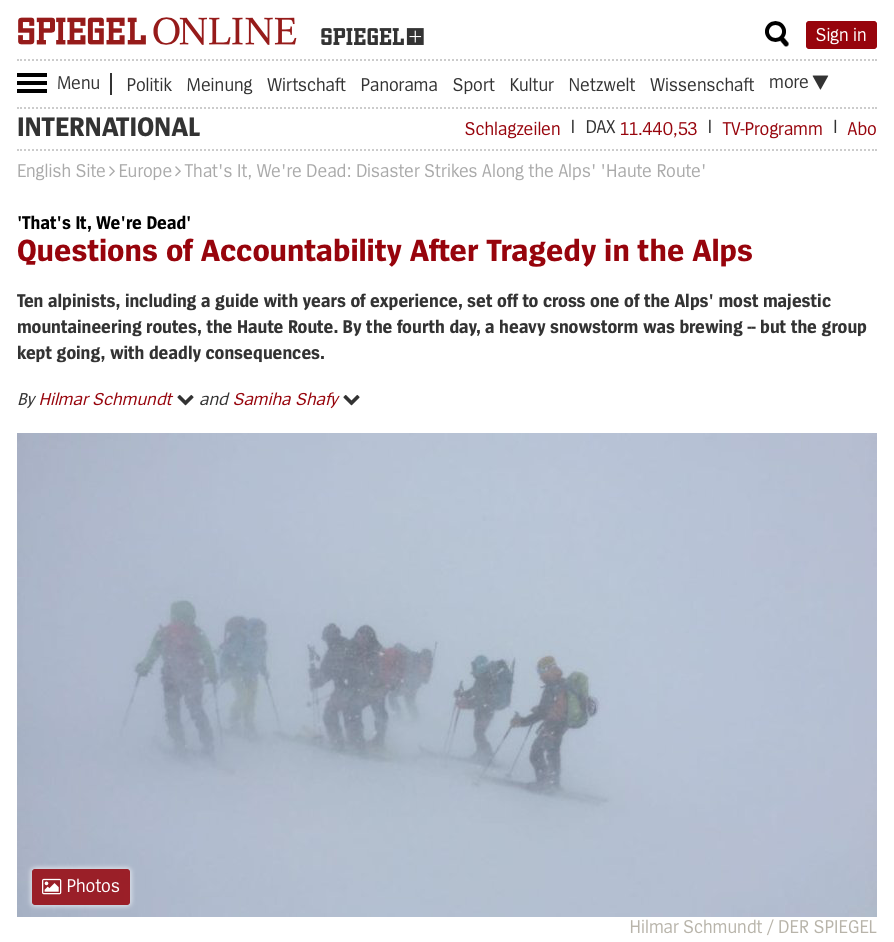
April 29 2018 started like many other days in the mountains. With a storm forecast for the afternoon, most teams in the Dix Hut stayed put. But Mario Castiglioni, an Italian Mountain Guide, and his group of nine, gambled on making it to the Vignettes Hut before the storm arrived. As they neared the 3790m summit of the Pigne d’Arolla (a barren, featureless place) the storm hit sooner than expected. The group were engulfed in a blizzard, with high winds and extreme cold. Now navigating on foot, the team met a further four French skiers, lost in the storm, and picked their way down the mountain. Dangerously tired and cold, all 14 eventually reached the top of the final slopes to the hut at dusk.
If the team had been more involved in route planning and navigation, they might have known it was futile to try and reach the hut in a direct line. The more they tried, the more exposed and serious their position became. The Guide fell to his death attempting to get help, leaving the remaining 13 skiers disorientated and exhausted at 3270m. All 14 spent the night in a blizzard, and seven people lost their lives as a result. They were just 300m as the crow flies from the safety and shelter of the Vignettes hut. The alarm was raised by the hut guardian early the next morning.
You can read more about it in detail in Spiegel here.
It is not our place to apportion blame or criticise. When conditions are marginal, it’s easy to push on too long and get committed. So unless we only go out when it’s perfect, this could happen to us. Thankfully, there are lessons to be learned:
When the going gets foggy, don’t let your judgement get cloudy too. People who ordinarily lament the inaccuracy of weather forecasts suddenly gamble their very existence on one. Those who spend every working day cursing IT crashes stake their lives on one GPS unit working faultlessly. Don’t do it! Respect the mountains and revel in the joy of plan B (or C or D).
Rehearse the worst-case scenario. A crucial part of avalanche training for my teams is the ‘dinner table’ chat that follows transceiver training:
“So if I am the one to get avalanched tomorrow, what would you do as a team?”
I once heard the shocking statistic that 90% of hypothermia victims had all they needed to survive. They just didn’t stop and use it in time.
The team on the Pigne could have alerted the services and stopped in a more sheltered place. If only they admitted their peril earlier. All they needed to survive was the right approach, the right kit and the right skills.
 Technology
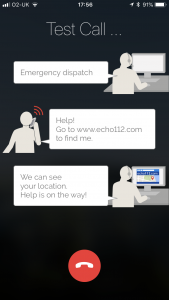
With today’s smartphones we can all carry a GPS and download the route in advance. Fatmap and ViewRanger are excellent examples. Also download the Echo112 app. This enables you to alert the emergency services and provide them with your exact location, with minimal phone signal. If you plan only to use your phone, rather than carrying specific GPS units or beacons, ensure you have enough power to last the trip.
Hoods, hats and a buff seal the crucial gaps to keep the heat in and the snow out. Beyond that, we need to layer up in bad weather (not swap light layers for thicker ones). When the going gets tough it pays to have just enough emergency spares; and to be able to throw them over the top of everything else. I always carry:
A mix of personal and group kit. Don’t over-burden yourself, but if you share the group kit out, it will be all you need. I carry:
Carry enough to fix common kit failures, as well as sharing out the following:
With the right approach and kit l, you should be able to navigate, know where you are and summon help. If you know how to deal with common injuries, the group spares should keep you warm while you sort them and then keep moving.
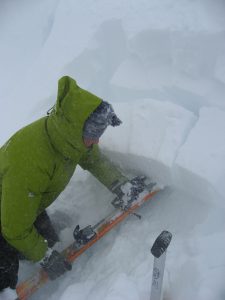
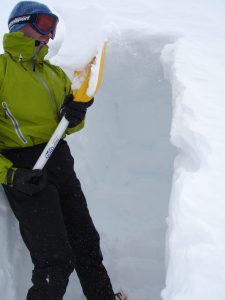
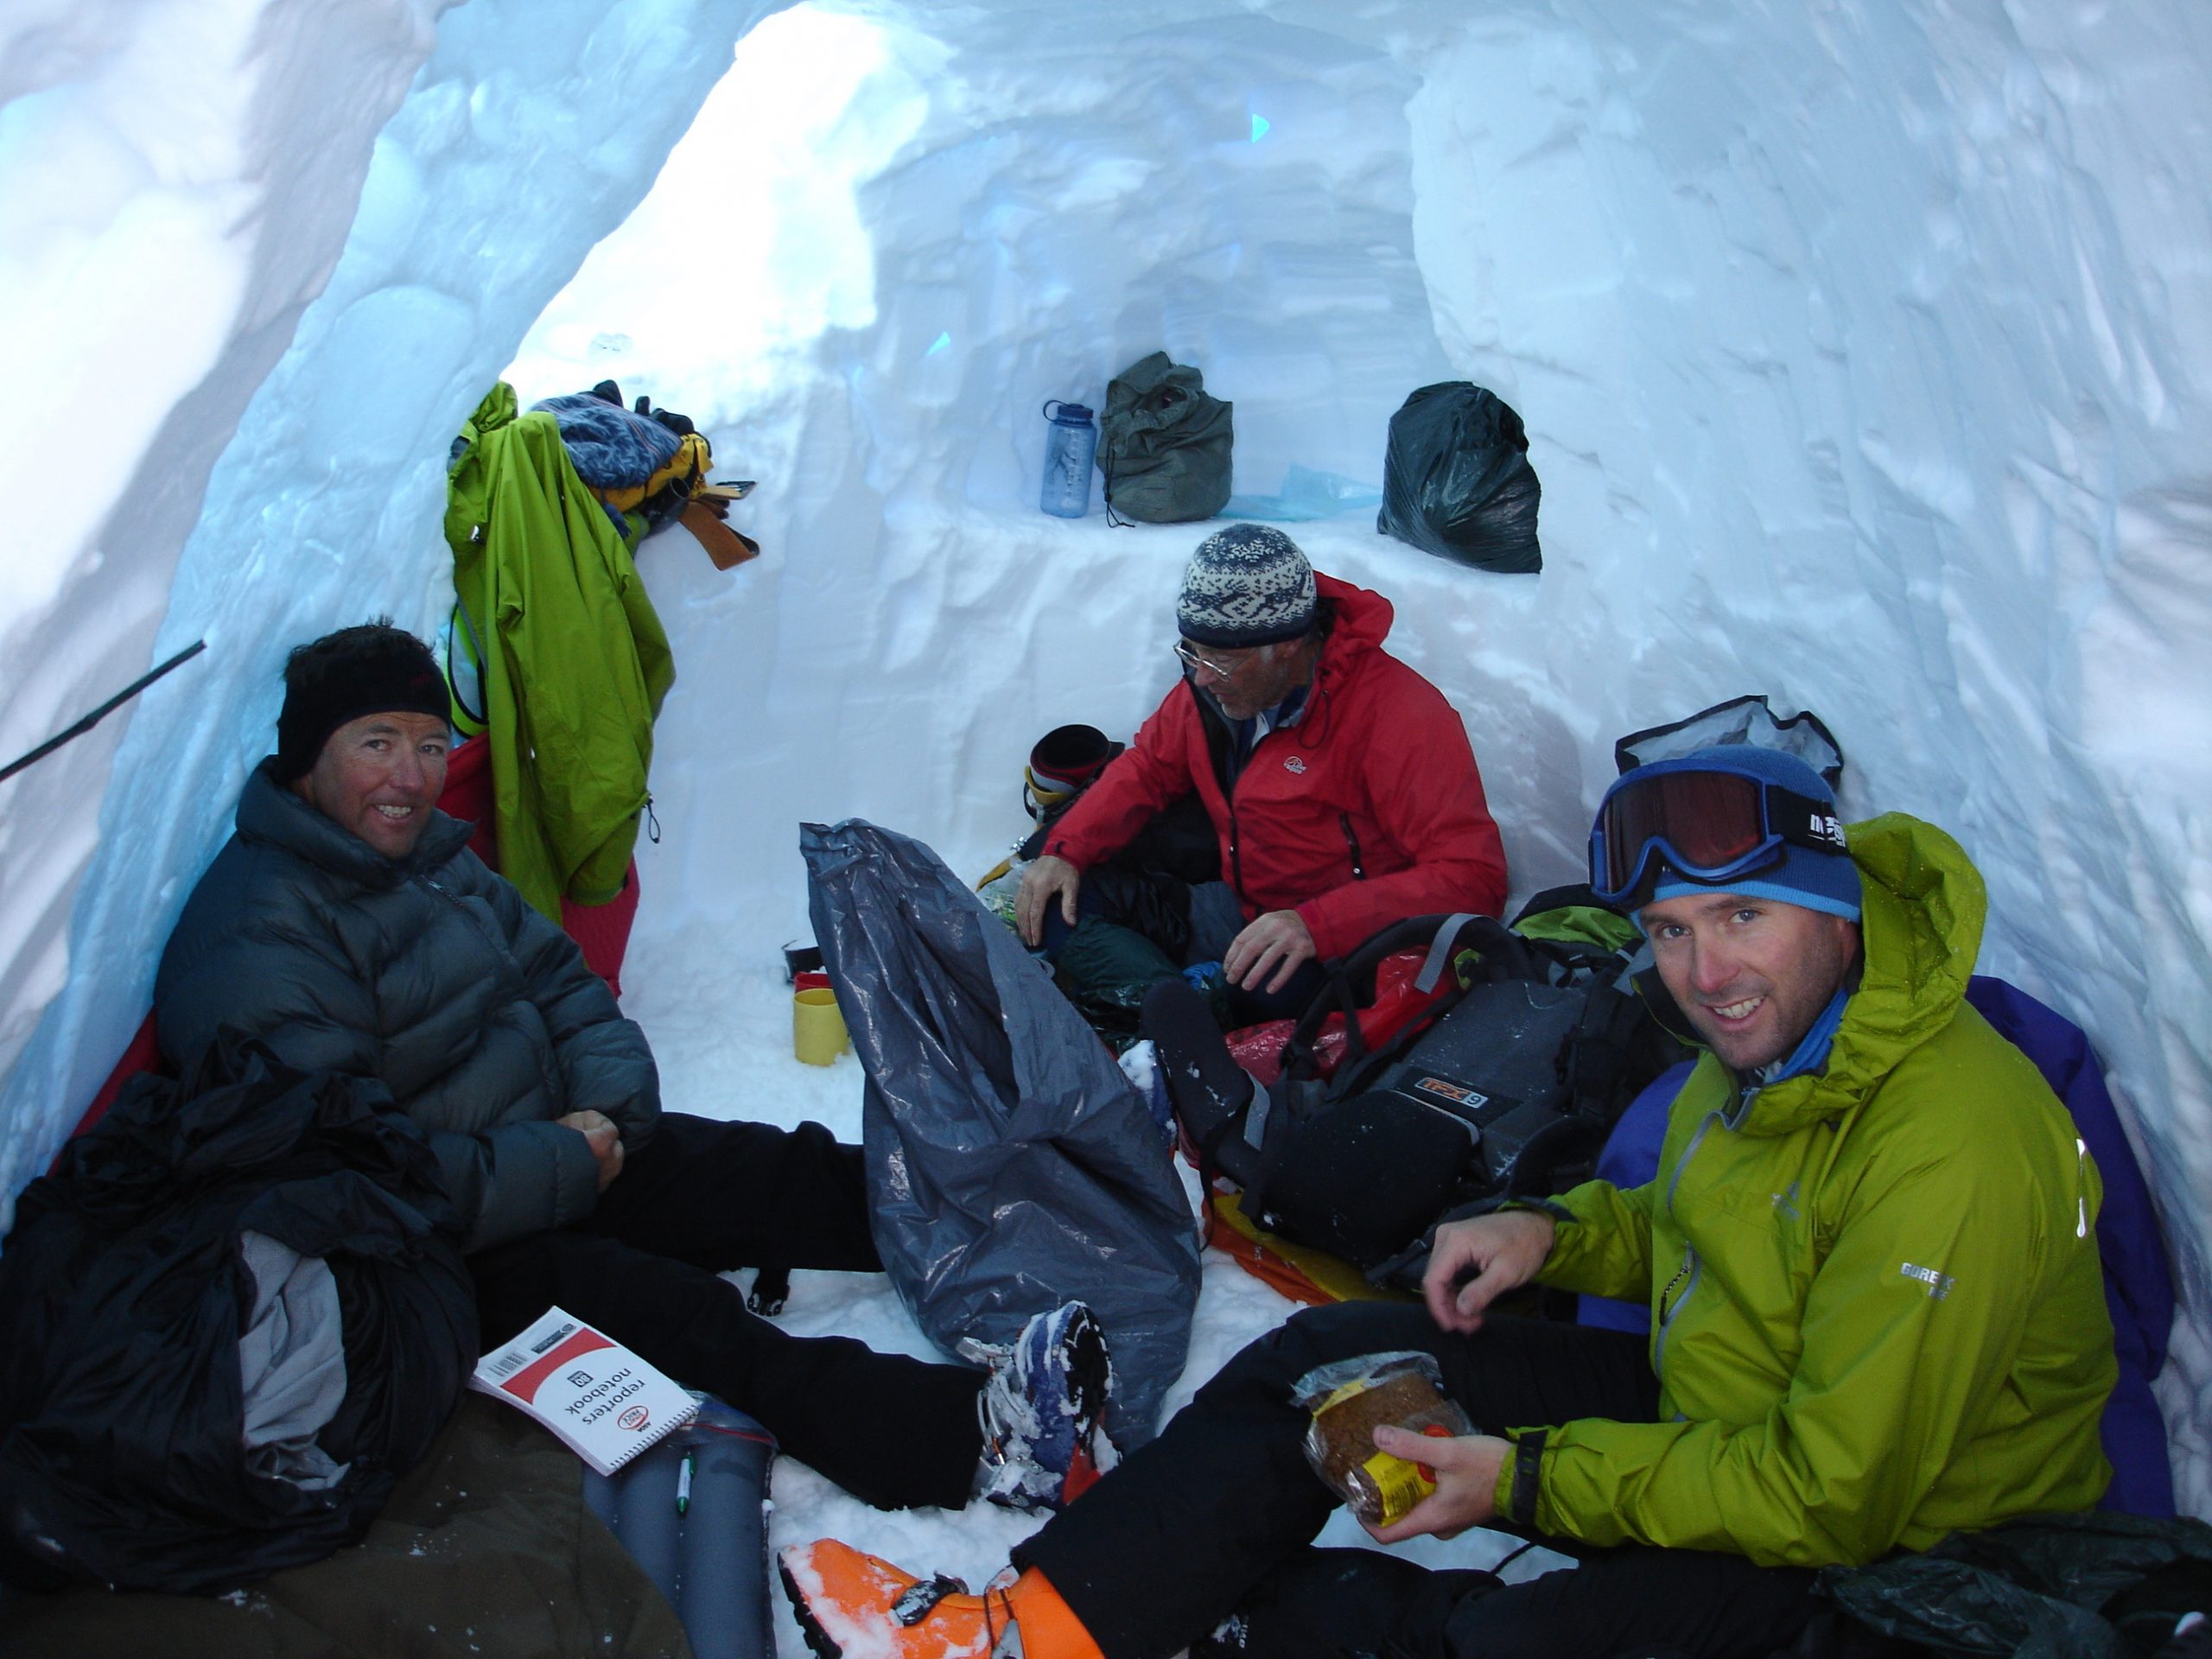
But for the worst-case scenario, you need to know how to dig a snow hole. The good new is that it isn’t complicated, the digging keeps you warm, and you already have all the kit you need. Here’s a beginner’s guide: