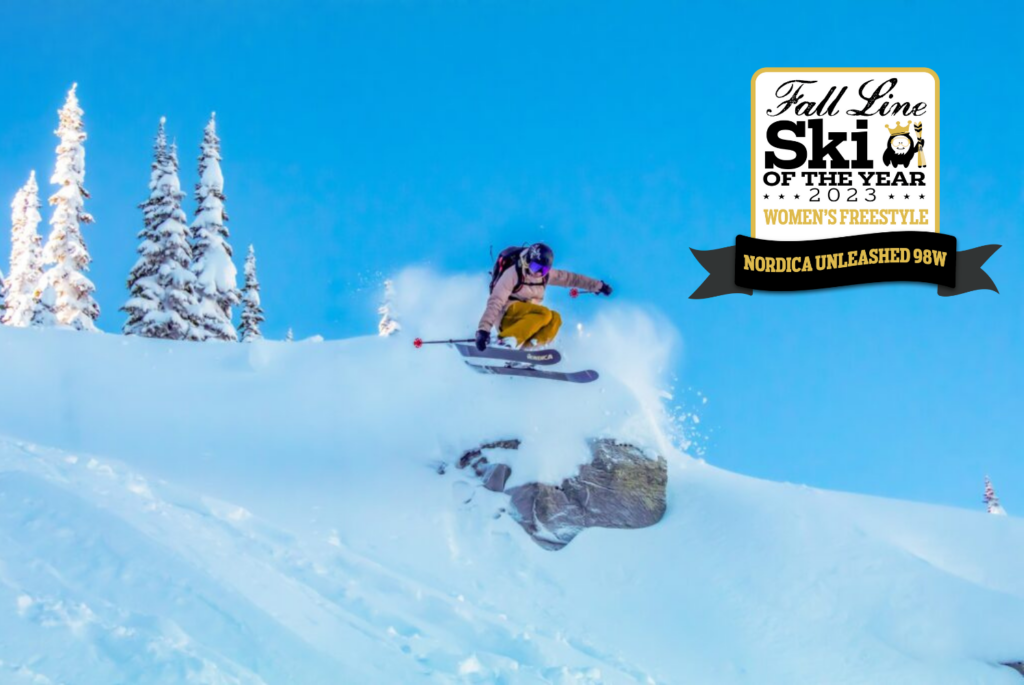
Who better to teach us than Britain’s slopestyle superstar who’s scored countless podiums and world titles during his career? Here Woodsy details three easy tricks we can master in a day… and one badass trick that’ll take years to master.

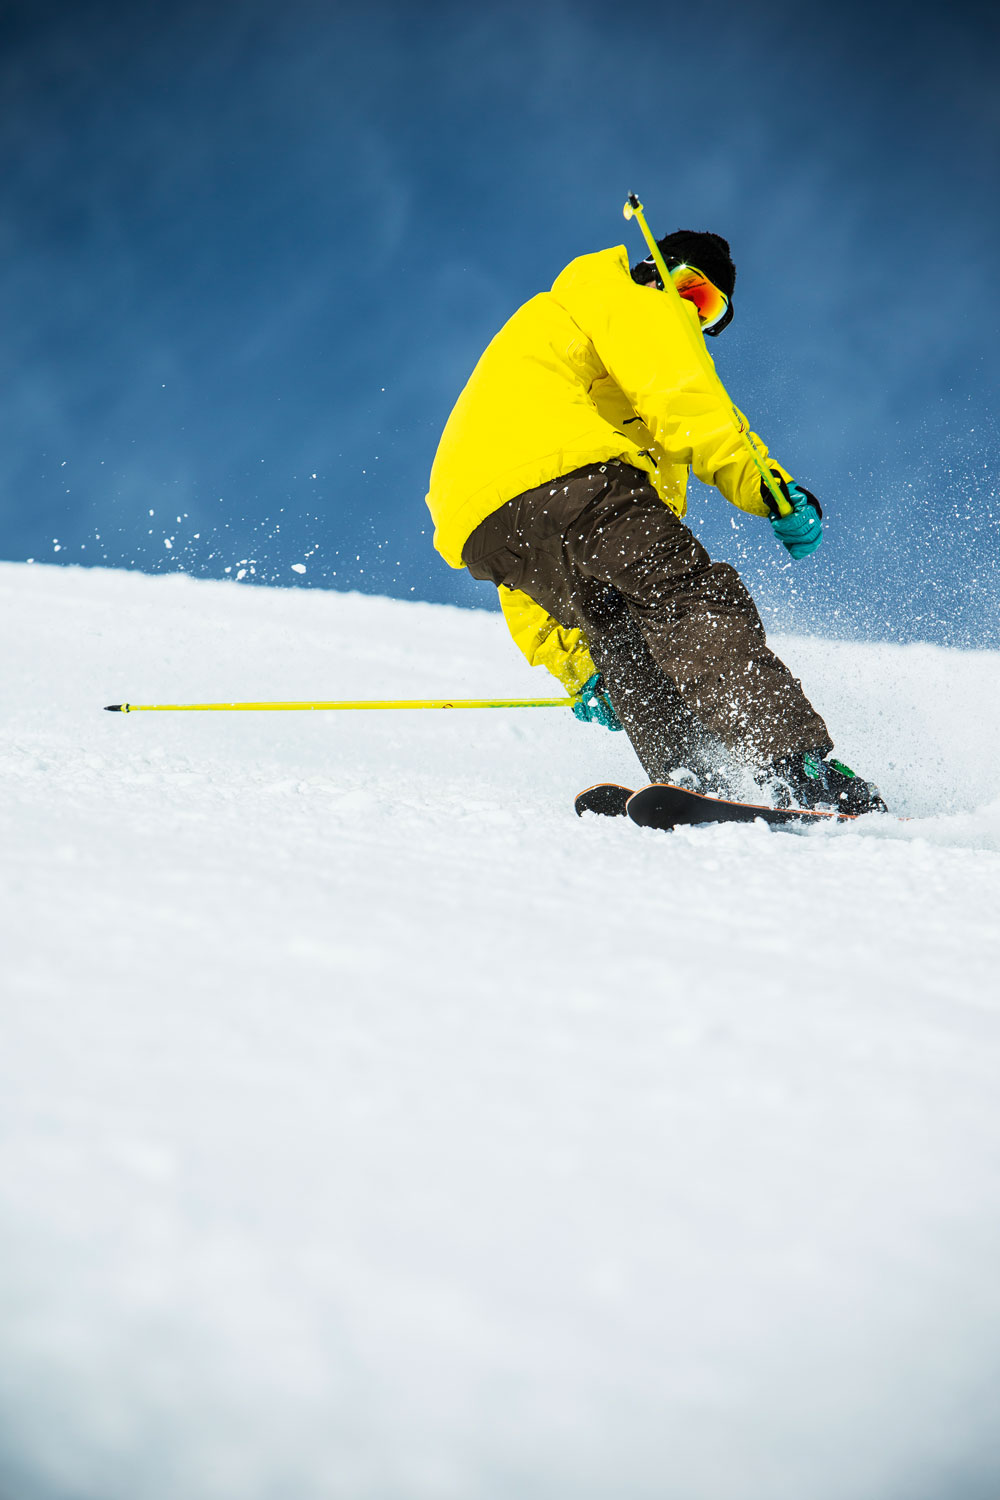
SKI SWITCH
This is probably the most important freeski technique of all, as it unlocks a huge door in your learning and a gazillion more tricks!
PIZZA STANCE
As always, start small. Find a wide area with a mellow pitch to practice. Avoid learning around obstacles like trees, rocks and other people. Soon you’ll be easily zipping between them all skiing switch, but not yet!
Just as you first learnt to ski forwards in the ‘pizza’ or ‘snowplough’ stance, do the same thing when learning to ski switch – tails of your skis together behind you. Once in this position, symmetrically facing uphill, hold yourself still with pressure through your big toes onto your two inside edges. You should be able to stand still here quite easily and get over the weirdness of the position. Remember when skiing ALWAYS have shins pushing into the front of your boots – they are your shock absorbers and will hold you up, so let them support you.
Check your path
To get moving, check down the hill first to make sure your path is clear of obstacles, and then look back uphill (to stay symmetrical) before gradually easing pressure off the big toes/inside edges. You will start to move backwards. Go slow with it and practice stopping and starting before picking up too much speed.
Once comfortable with this your progress will be fast. You’ll find that more pressure on your right foot turns you to the left and allows you a clean visual over your right shoulder to check your path (and the same on the other side). Become comfortable with these basic turns, and focus most of your energy on nailing the ‘looking where you are going’ bit, swapping shoulders each turn.
PROGRESSION TO PARALLEL
As you’re an awesome skier sliding forwards you will understand the progression from ‘pizza turns’ to ‘step turns’ to parallel turns’, and this will come naturally to you ski switch.
Once you advance to parallel turns you’ll have to learn to stagger your feet a little to help you see where you are going, as swapping shoulders every turn becomes unproductive at high speeds. So when you’re looking over your right shoulder, stagger your right heel further back (downhill) of your left and mirror that stagger in your hips and shoulders. You’ll then have a clear view of where you’re going and strong edge control.
Remember to keep your head upright and chin on top of your shoulder. Don’t look down and under your armpit, the world will appear upside down or at least not level and you’ll be constantly aware that you need a shower.
NEXT STEPS
Work on your reverts (pulling a quick on-snow 180 from switch to facing forwards and vice versa), looking to smooth them out as much as possible without catching any edges. This way you can get into and out of trouble more quickly! Then you can move onto carving switch, which is super fun. Then come the jumps!
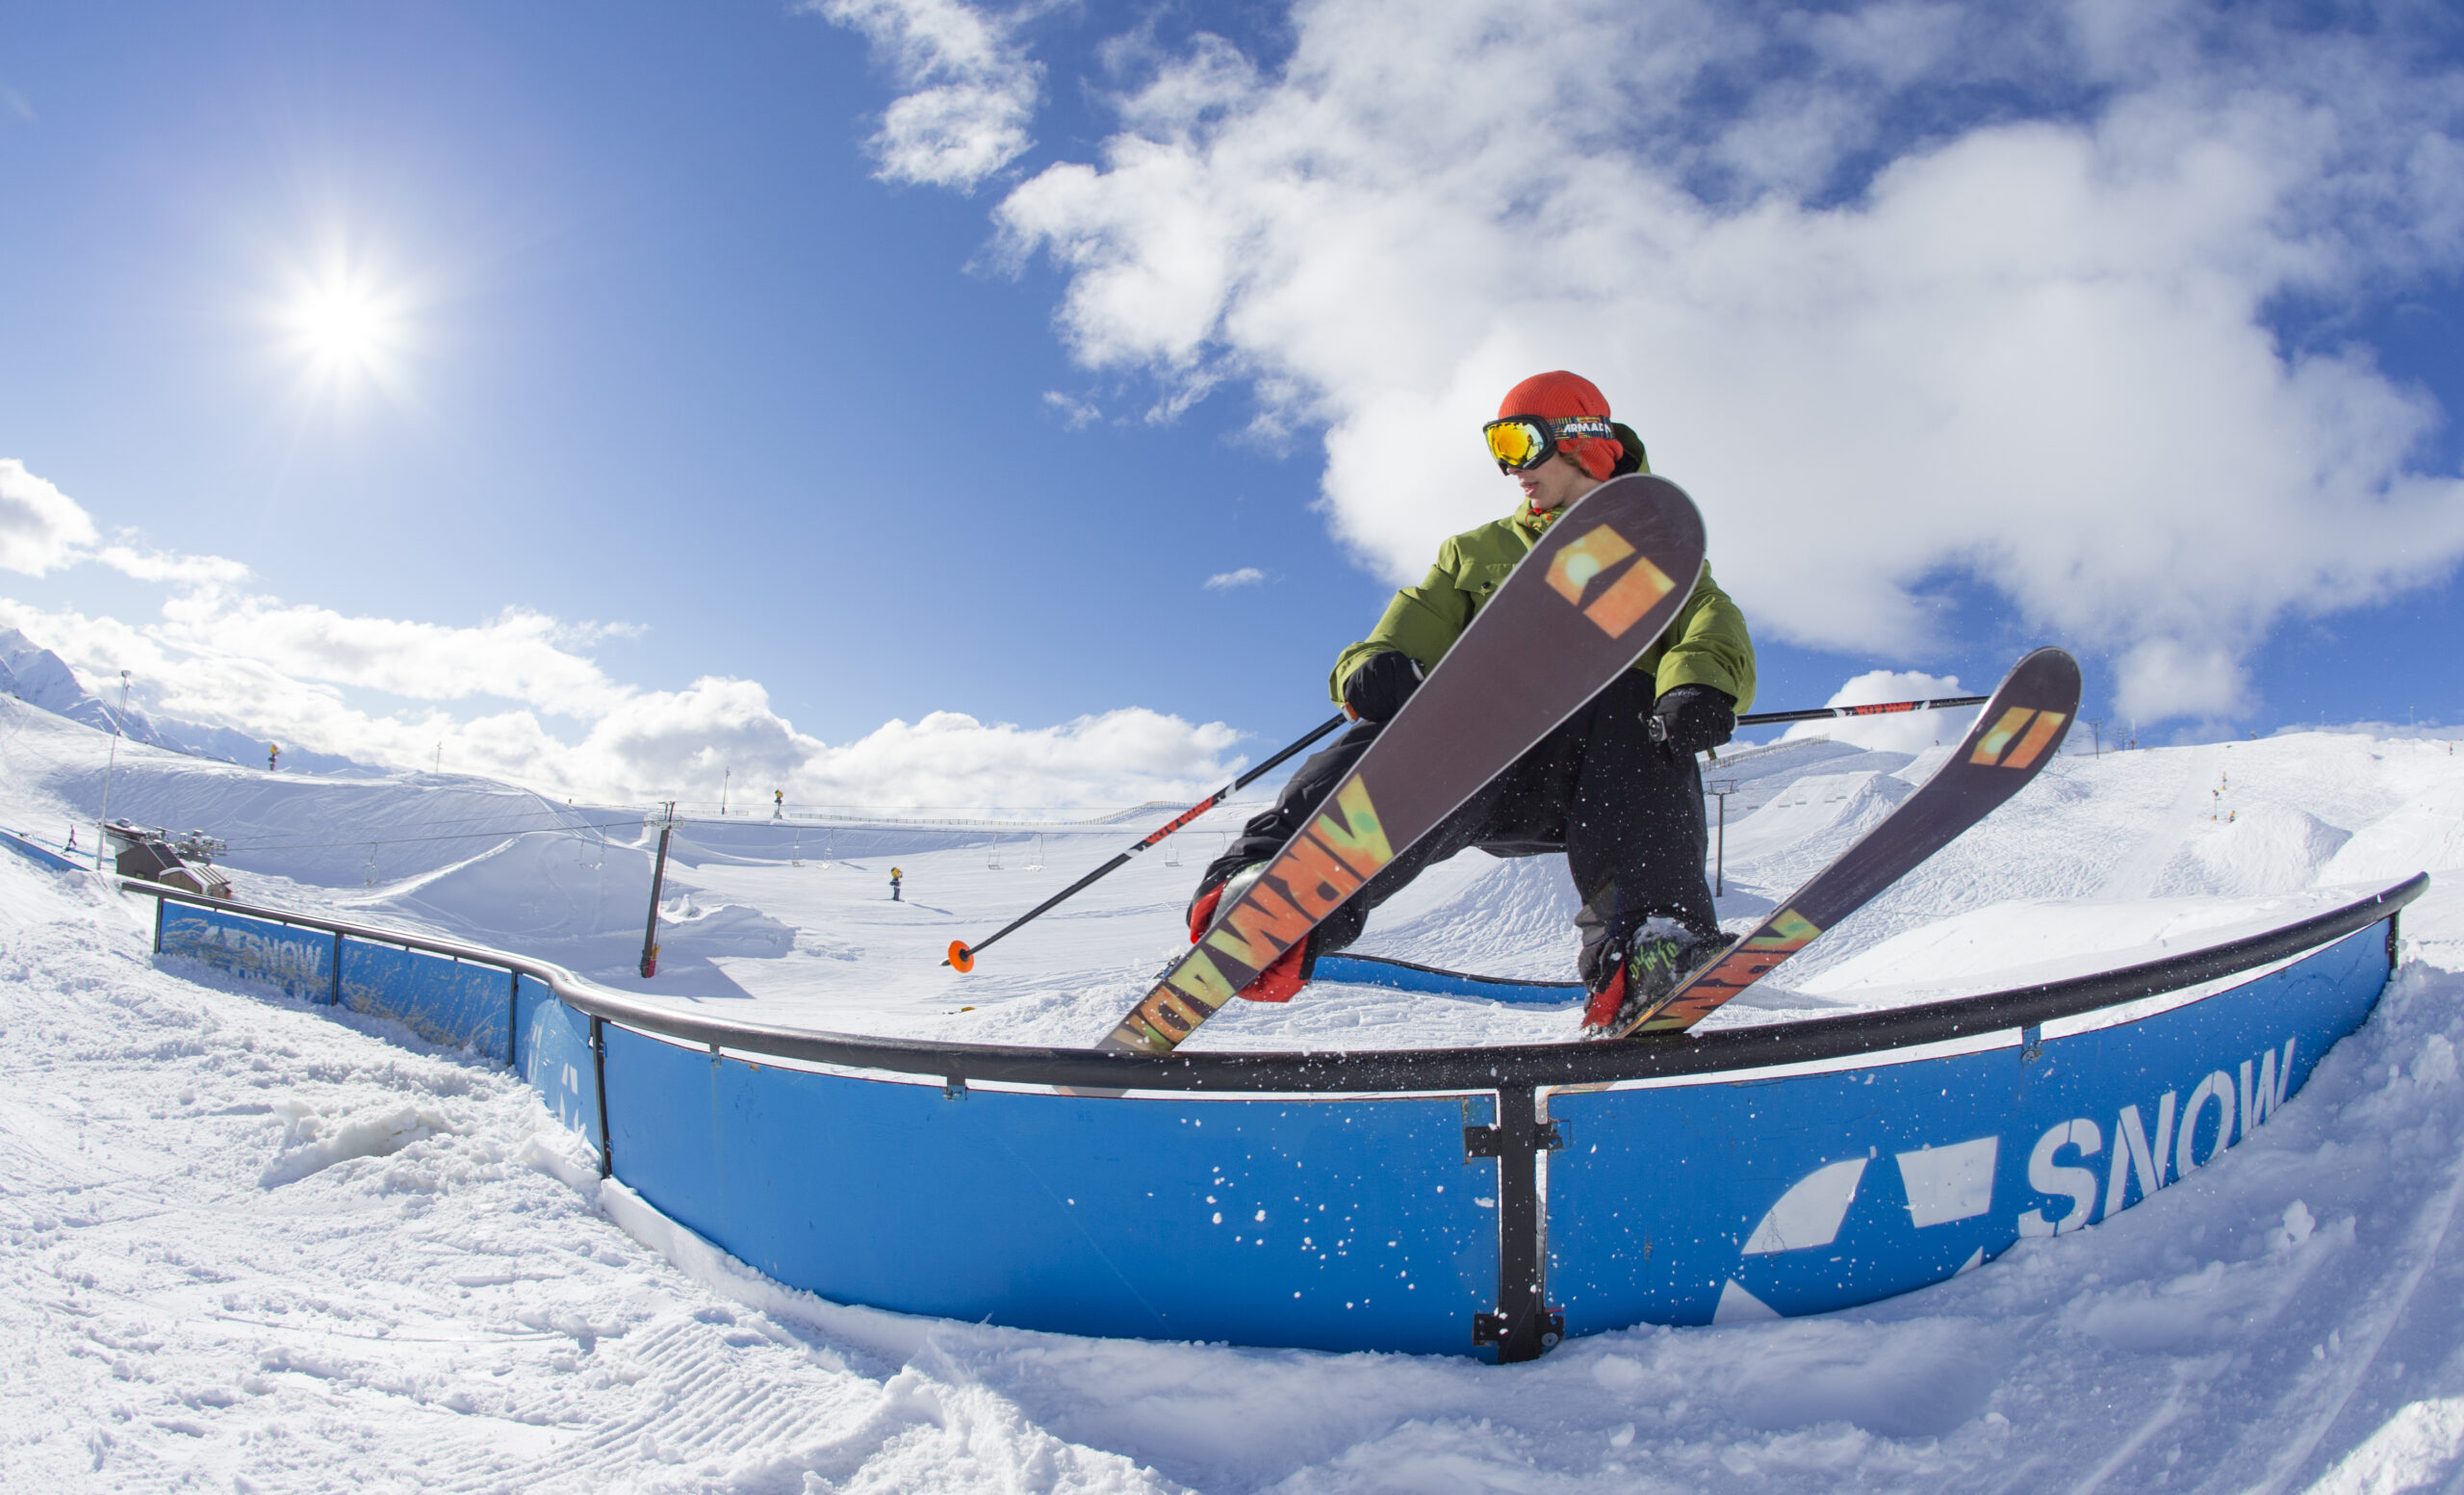
SLIDING A rail / box SIDEWAYS
So, if you’re ready to start sliding a rail or box sideways you will have already practiced 50/50 (skiing straight along it) on the boxes – just know that sideways is a completely different technique and trick, so don’t do half of each!
FEATURE CHECK
First of all, check out the feature. Is it a box or rail, flat or down (angled downwards), does it have kinks or go round corners, rounded or squared off? Ask all of these questions first and think how they will affect your slide.
ASSESS YOUR SPEED
Figure out the speed you are going to take. You can take your best guess and jump right next to the feature a couple of times before attempting the trick, so you aren’t messing around with your speed on the in-run when you actually hit it. Keep it simple and remember that a little more speed is usually helpful, so don’t go too slow… though don’t go flying in either!
Make a plan before you hit the feature. Often planning to come off the rail switch is the easiest way to commit to getting your skis all the way sideways.
STAY ON TWO FEET!
The most common problem people face when learning this is slipping out/falling uphill and hip-checking the rail. To avoid this mistake:
– Jump onto the rail with both feet, full commitment!
– Turn your shoulders to full 90 degrees just as you want your skis to be, so your whole body is in line.
– Have equal weight on each ski while sliding. The easiest way to do this is to have a nice wide stance – wider than shoulder width apart – and bend your knees and back to get a low centre of gravity.
– Think about having more weight on the front foot if the rail is steep. Steeper rails require more commitment.
– Look for the end of the rail. Chin over shoulder, your head is the only part of your body facing the end of the rail – shoulders, arms and hips are squared off and in line with the rail.
Sliding a box or rail sideways is a big commitment – it’s difficult and takes practice, however you’ll find that your progression is fast once you’ve mastered the first steps. You will love trying out all the different kinds of rails and begin to learn different tricks using them!
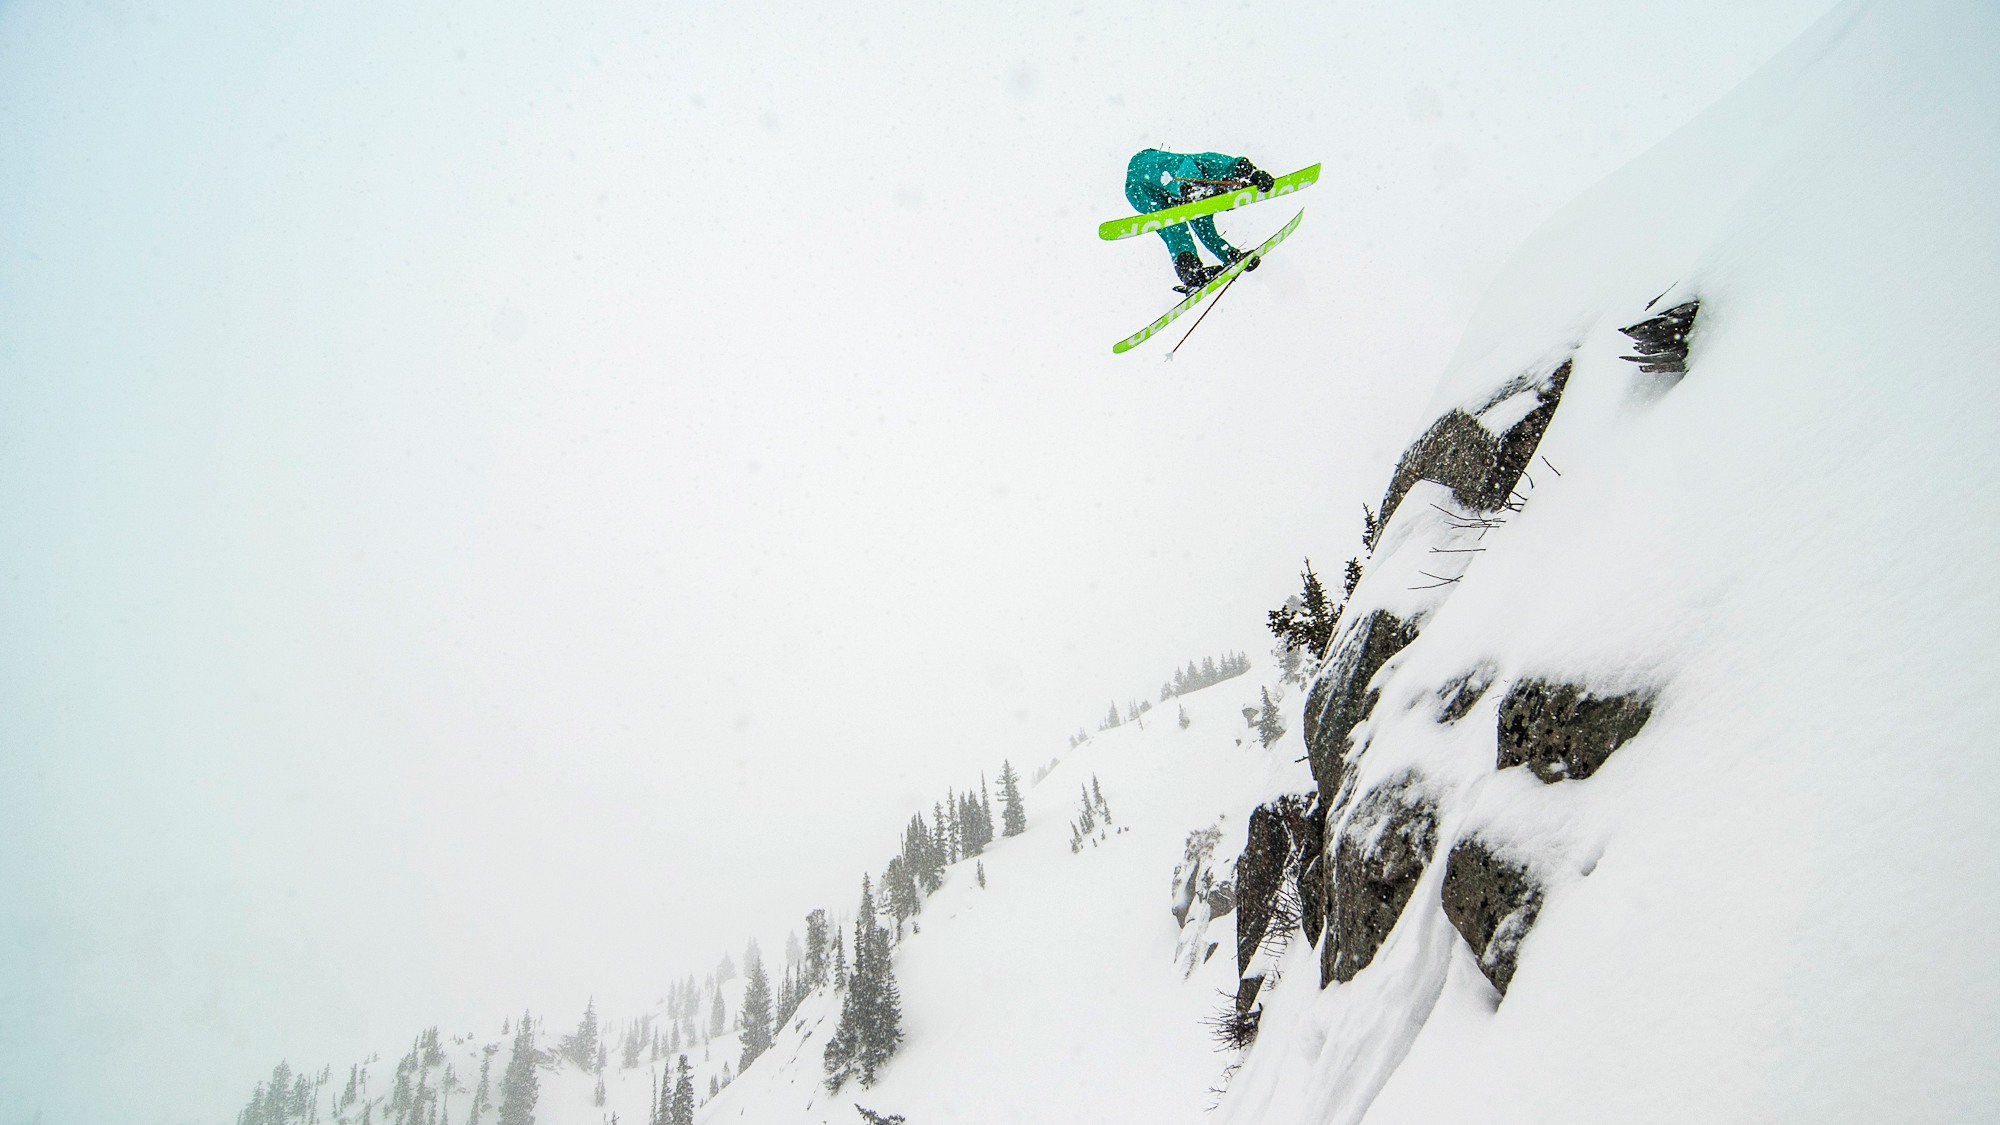
TRUCK DRIVER
A Truck Driver is a double nose grab – you have to extend your both legs and grip the front tips of your skis, left hand grabbing left ski, right hand right ski, both hands grabbing respective outside edges of each, in front of the bindings. The more symmetrical the better.
GET COMFORTABLE IN THE AIR
To learn different and complicated grabs such as a Truck Driver, getting comfortable in the air is obviously very important! If you’re at a more advanced level and are wanting to put these sorts of advanced grabs into a specific trick then you’re going to have become very comfortable with that trick alone, without any grab, as you’ll never accomplish true mastery unless you can be versatile.
Once you’re happy hitting and simply straight-airing the jump you’re going to hit, solid with the speed, the transition, how much air you’re going to get and knowing your margins for landing, then it’s time to get all bent out of shape in the air!
WATCH YOUR WEIGHT
You will feel inclined to lean forwards to reach the Truck Driver grab – the tips of your skis are in front of you, so that would make sense. However don’t do it! That will get you into a half front flip sort of position – you’ll be hunched over and it will look kooky… The essential tip here is to think about bending your knees up towards your tummy and then extending/kicking your heels out backwards behind you, lifting your toes. You don’t need to grab in the first stage (although you could, and that would be a steezy grab combo from a Canon Ball to a Truck Driver, but don’t at first); it’s all about the kick back. Concentrating on this will automatically lift your tips closer to your hands and will invite your upper body into a strong, dynamic/driving position.
This technique will help you from looking daft and falling and will become especially valuable when you’re wanting to manipulate big tricks in the future!
AND the BADASS TRICK…
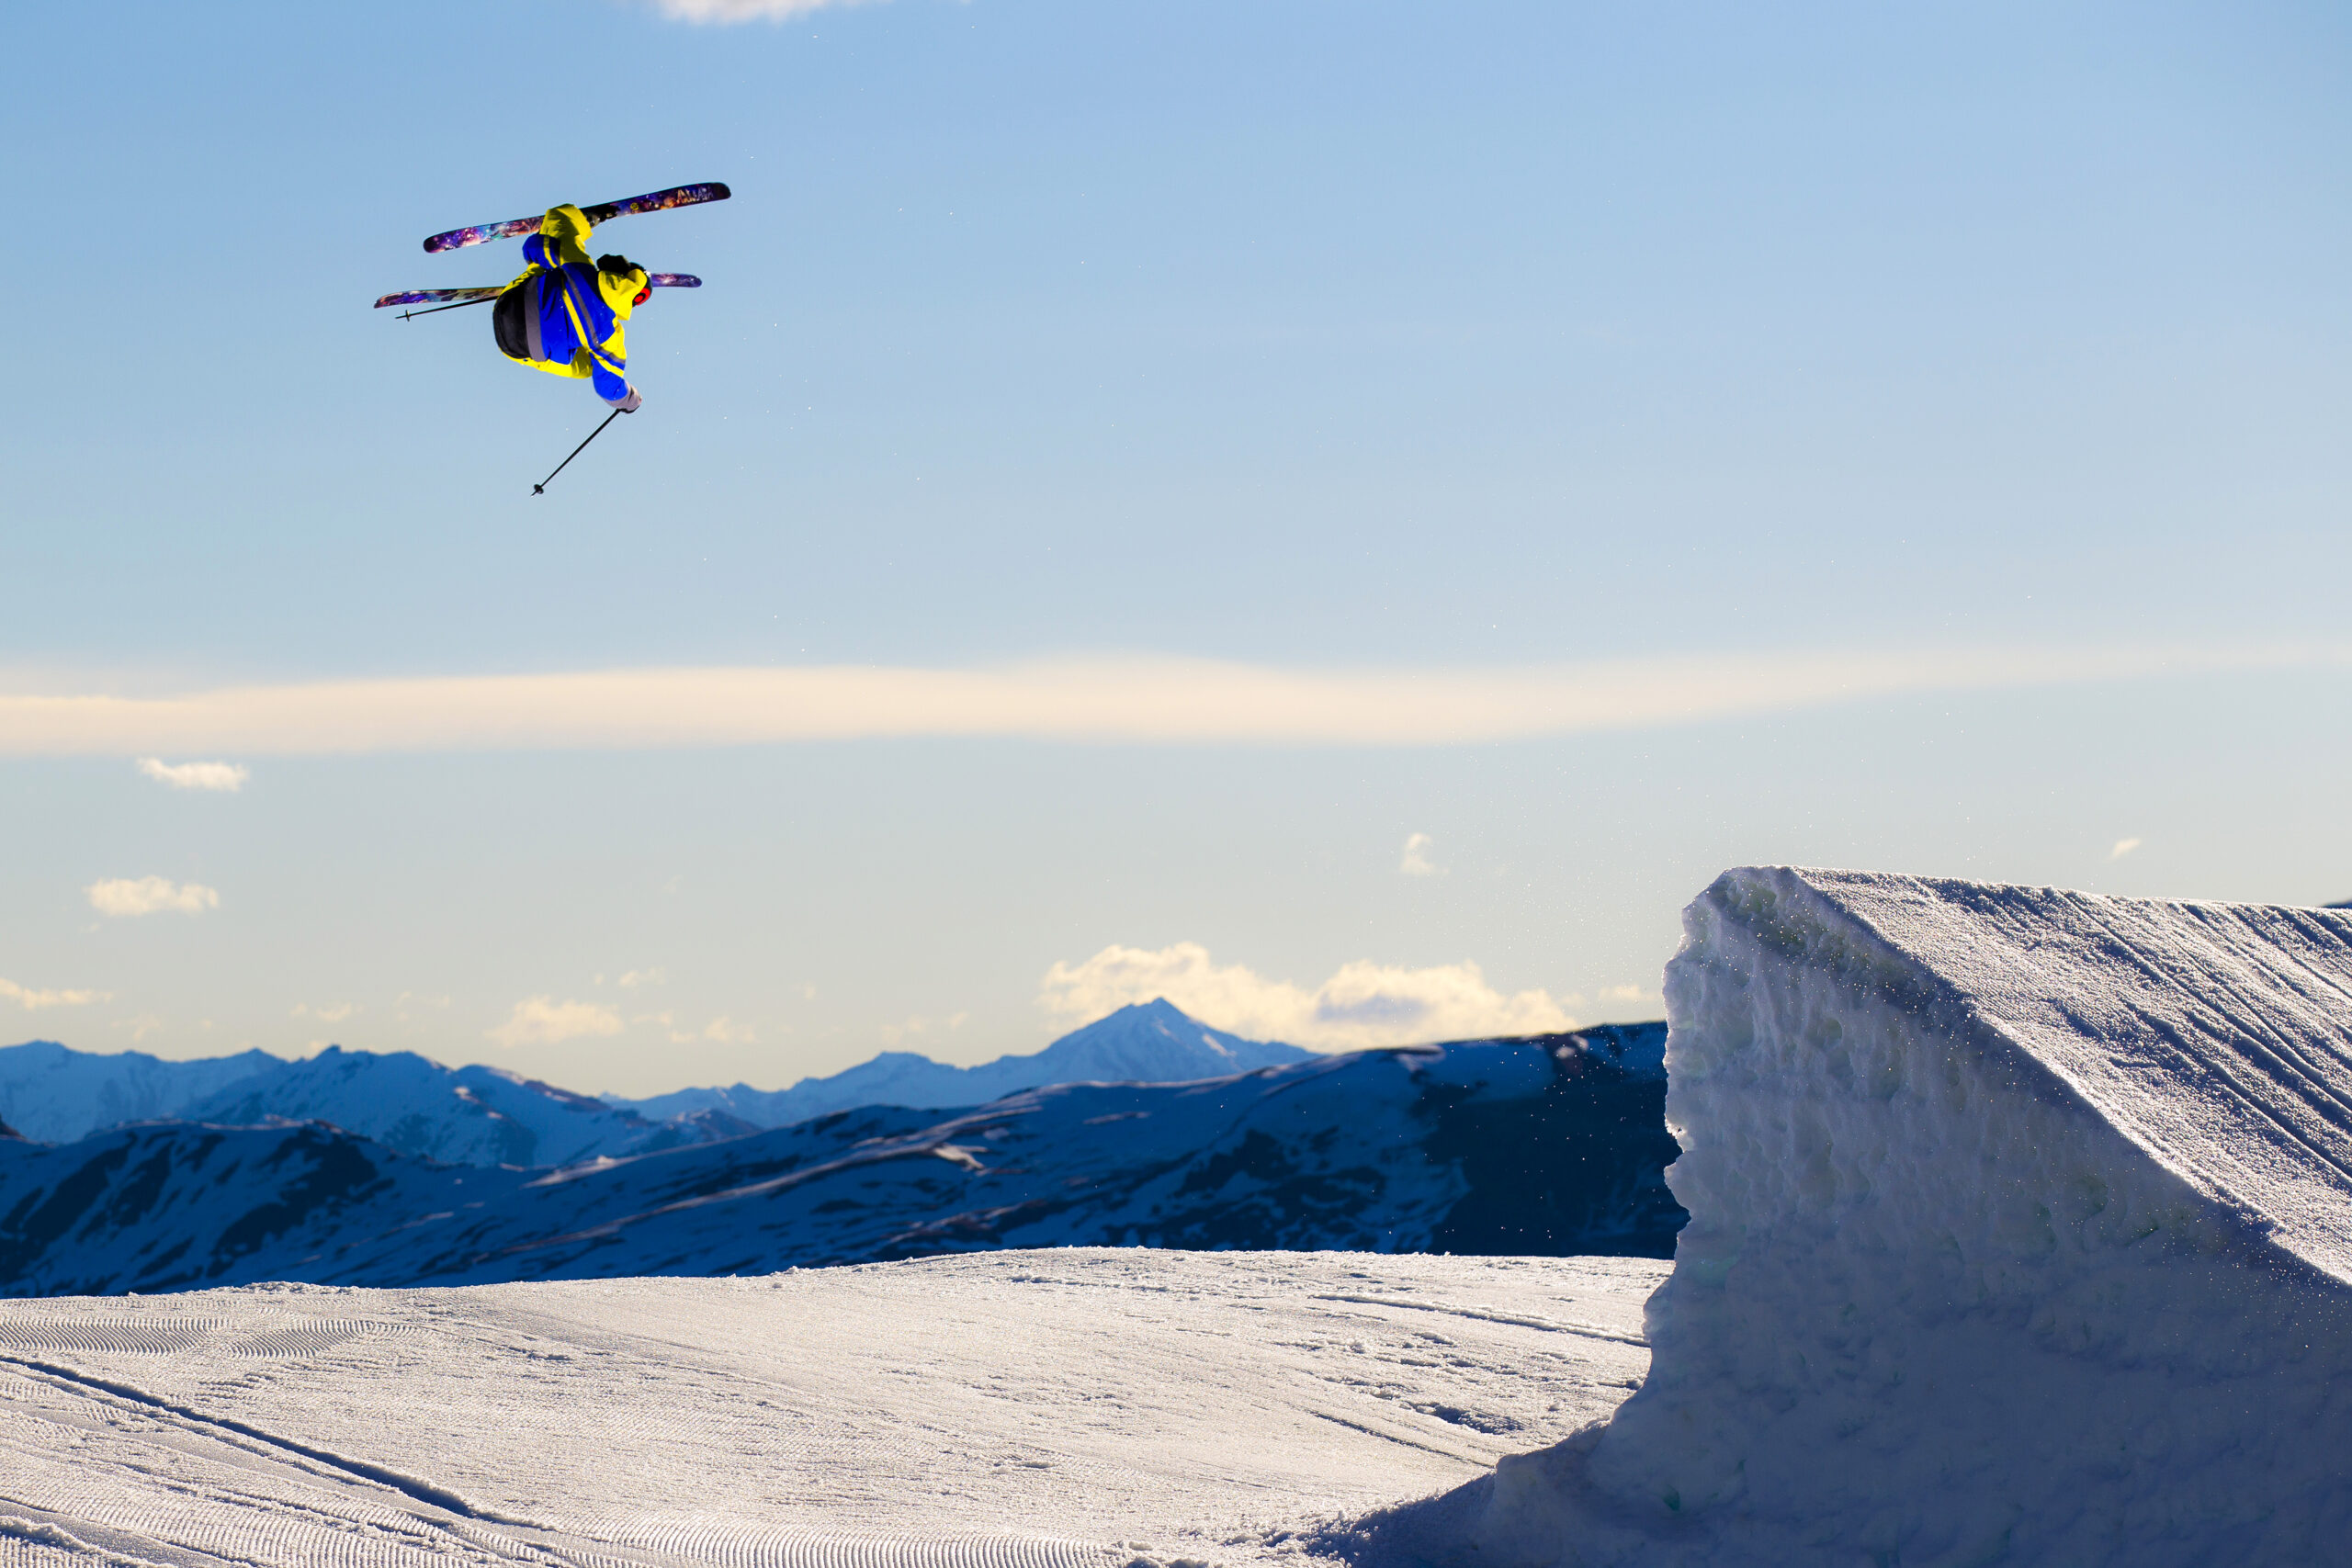
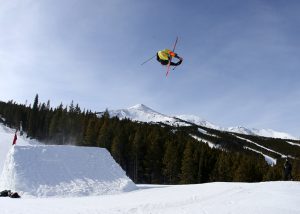
RODEO 540
This is without a doubt (in my mind) the coolest trick in skiing. It’s an advanced trick, however when done correctly it can be incredibly visual and slow, making it a safe trick to do on any size jump. Before trying this trick on snow I would advise having a few goes on a trampoline or off something into water.
HEIGHT IS KEY
I describe a rodeo as a roll, but if you can’t get your head around that, it’s more of a spin than a flip. The beauty of a rodeo is that it requires very little force from the take-off, the priority at the beginning is to get the most height possible – not from speed but from extending fully through the jump’s transition, jumping upwards or ‘popping’. Once you’ve set that strong full take-off, set a little rotation in your shoulders and stared down the landing in front of you (you’ll deal with that later – the longer this forward glance the better), you will deliberately take your vision and flop it over your leading shoulder. Combine this vision flop (and I mean flop, don’t push or force it) with bringing your legs into position for grabbing.
CHOOSE YOUR GRAB
The grab you choose is very important – for learning I recommend either: Safety, Japan or Critical (all trailing). They will help the rotation rooooooooooooll over smooth as butter.
LAND IT!
The next step is instinct – if you’ve done it all correctly you’ll be kinda upside down-ish at this point staring at your landing – do NOT break that vision, hold your position, tweak your grab like your reputation depends on it (‘cos it does!) and wait for the exactly moment to whip or shifty your skis around yourself all the way to switch underneath you. As with all switch landings, on impact take your eyes up the landing to where you came from to prevent the classical snow piano, and ride away with all the swaggalicious, stompy, funkadelic, all-eyes-on-you props that you deserve!