Ski Servicing Guide: how to wax your own skis properly


Words by Andy Taylor from Anything Technical. He recommends Holmenkol wax for ultimate performance.
With ski + binding packages averaging £360-£420 (and often more), looking after your equipment properly has never been so important. Even if you only ski a couple of weeks a year, it’s still essential to car for your kit correctly. You wouldn’t buy a car and not get it serviced and MOT’d, and you shouldn’t with skis either – poorly tuned skis are a surefire way to ruin your next trip to slopes.
For me, waxing the base of your skis or board is the most important element of servicing them. Get this wrong, and your next ski day will be miserable. If you’ve ever had your ski bases stick to the snow and refuse to glide freely then you know what I mean.
https://www.facebook.com/FallLineSkiingMagazine/videos/1586149308091154/
Waxing your skis should be done on a regular basis. Sadly, the general perception is that waxing is ‘highly technical’ and should only be carried out by experts, but that’s really not the case. Servicing your skis yourself is actually very therapeutic and enjoyable – especially with a ski film on in the background and a tin or two of good beer to help the process along.
If you ask a typical recreational skier what waxing does, their answer nearly always relates to increased speed – but waxing actually has far more benefits than just making you glide over the snow better:
Within waxing, there are two main categories: cold/surface waxing (known as rub-on waxes) and hot waxing (waxes that are applied with a hot iron). Cold waxing is a quick way to stop your skis sticking while out on the slopes, as you can quickly apply it in the next gondola; however a proper hot wax will last longer and is what your skis really need to stay in tip top condition.
Follow these simple steps to improve your ski performance, longevity and enjoyment.
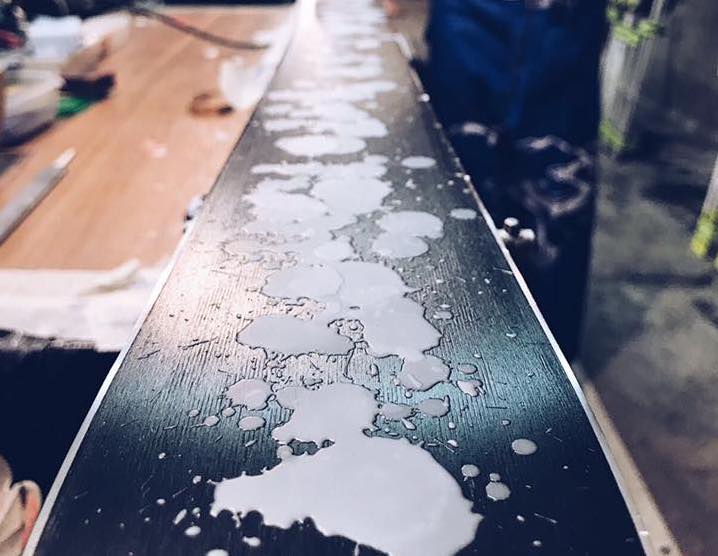
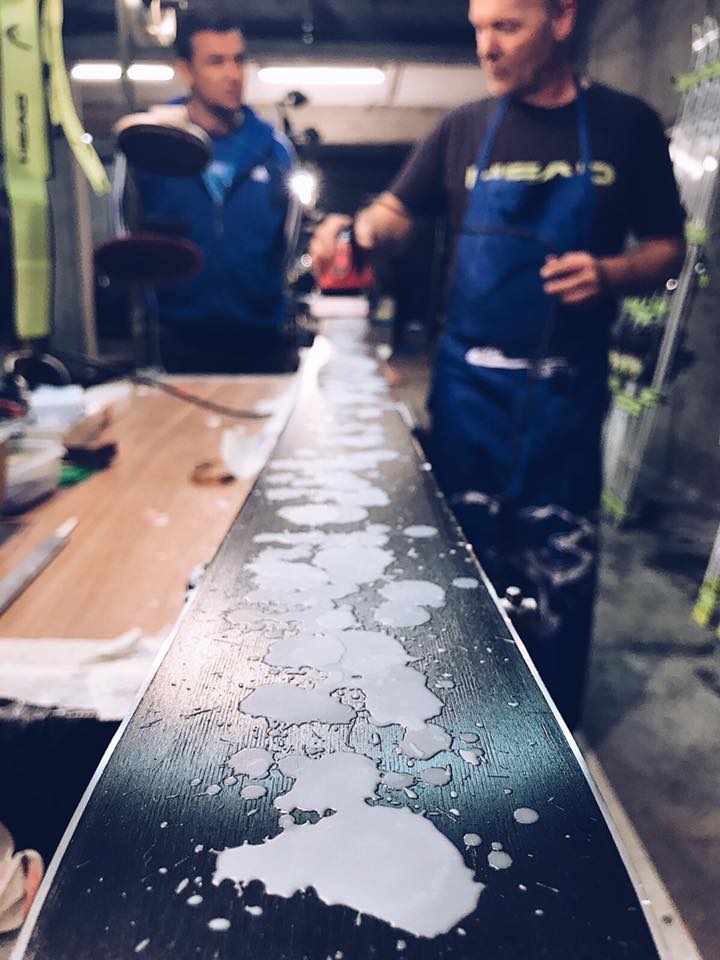
HOW TO – Hot Wax your skis
A detailed video about how to wax your skis using hot wax. If you have any questions please feel free to ask us in the comments down below or contact us at info@skiequipmentuk.co.uk.
First decide which wax to use. Ski waxes come in different temperature ratings – both for application and for use on snow. We recommend using Holmenkol waxes, but to decide which to use, you need to identify what the snow is like in your chosen ski destination.
Many people simply use a universal wax to cover a wide range of temperatures (generally around 0°C to -18°C), but if you want ultimate performance you have to be more specific and use the correctly rated wax.
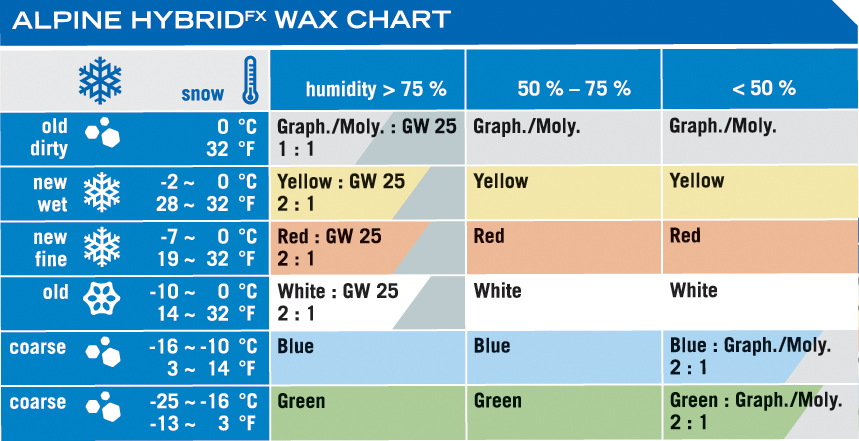
To work out which wax to use you can look at current snow temperatures and future weather forecasts, but most importantly, you have to look into the past too. Compacted snow holds the core temperature for longer than most people realise, so for example if the current temperature is -4°C but the previous week was -12, a harder/colder temp wax may be more appropriate.
Next it’s time to prepare your skis so they properly hold and absorb the new wax.
Follow up the waxing process for a smooth finish and optimum glide.
You are now ready to go and enjoy your hard work! You will be gliding freely until the wax wears away. Depending on conditions, hot wax should last between 3 and 5 days, though keen skiers and racers may wish to re-apply wax every evening to maintain maximum glide and speed.
We’ve all been there before: temperatures soar (or plummet), and the snow starts to stick to your bases making skiing a chore, and frankly not very enjoyable.
Rub on cold waxes are a quick and simple solution to improve how well your skis glide, and can often even be applied in the car park or on the lift if it’s a gondola or cable car.
HOW TO – Cold waxing your skis
An in depth guide about how to wax your skis using cold wax. If you have any questions feel free to call us on 01539 734701 or email us at info@skiequipmentuk.co.uk
The founder of the Cumbria ski shop and servicing specialists Anything Technical, Andy Taylor has worked in the ski trade for 30 years and knows a thing or two about servicing skis.