How to do a Kick Turn

Love them or hate them they are a part of ski touring that you can’t avoid, so the faster you learn how to do a kick turn quickly and efficiently, the more fun you will have on the hill.
There are a number of kick turn techniques, some of which I can’t even achieve in the comfort and privacy of my own home. What follows is a method that works for me and is the most common method you will see.
Make sure you practise this somewhere where it won’t matter if you fall off; part way up the Col du Chardonnet on day one of the Haute Route is not the place to learn. Practise all the elements so they feel natural, then put it all together so it is nice and smooth. A kick turn should not be an intimidating thing. If it is, you need to practise more in a safe place.
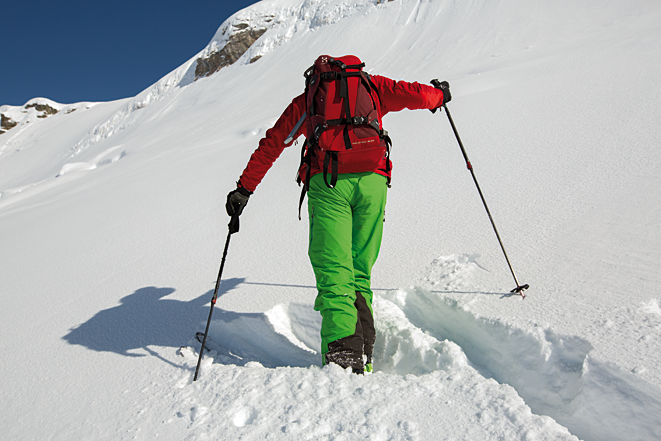
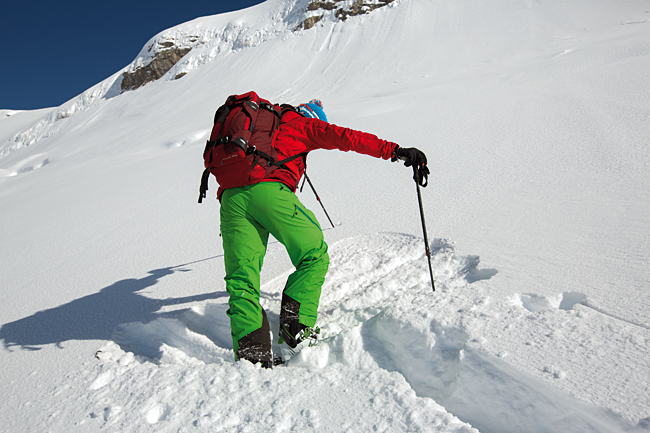
To start a kick turn it is essential to have a stable platform. When setting a track I will level off into the horizontal before creating my platform – that way you won’t slide off it forwards or backwards. Make the horizontal platform longer than the space you need for the kick turn, then when you set off on the next section your skins will be biting on an easy-angled track to begin with.
In soft snow you can just stamp a good platform, but it becomes more difficult as the snow gets harder. In really hard snow or in exposed places I will sometimes cut a ledge with an ice axe or a shovel (you don’t need to take your skis off to do this) to provide a good solid platform for less confident skiers to use.
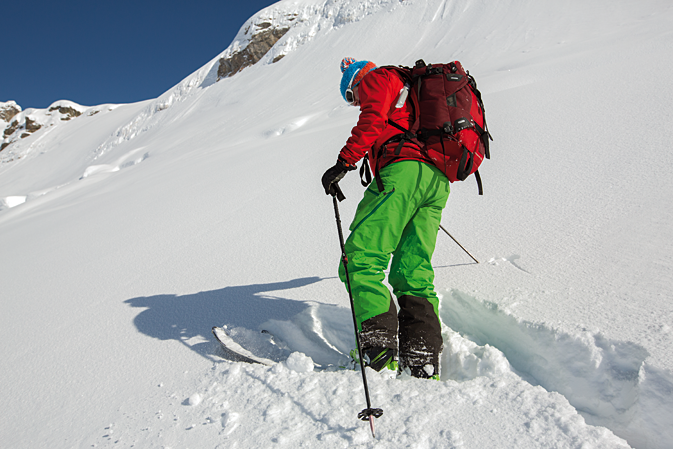
Now you have a good platform, position your top pole towards the rear of the top ski and the bottom pole towards the front of the downhill ski. This will give stability and keep your poles out of the way. On a steeper slope having the top pole positioned slightly uphill can give extra stability, but make sure there is enough clearance to get your ski around.
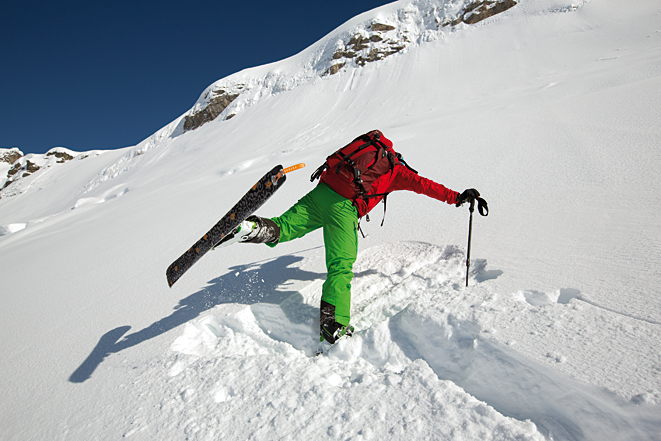
Move your weight so that it is on the downhill ski and lift the uphill ski off the ground. Cock this uphill leg back slightly, then swing it forward and rotate it so that it lands as close to parallel to your other ski as your flexibility will allow. This feels easiest if done as a single dynamic motion, letting the momentum carry the ski through the turn. Your skis are now facing in opposite directions; the closer your feet are the easier it will be to transfer your weight.
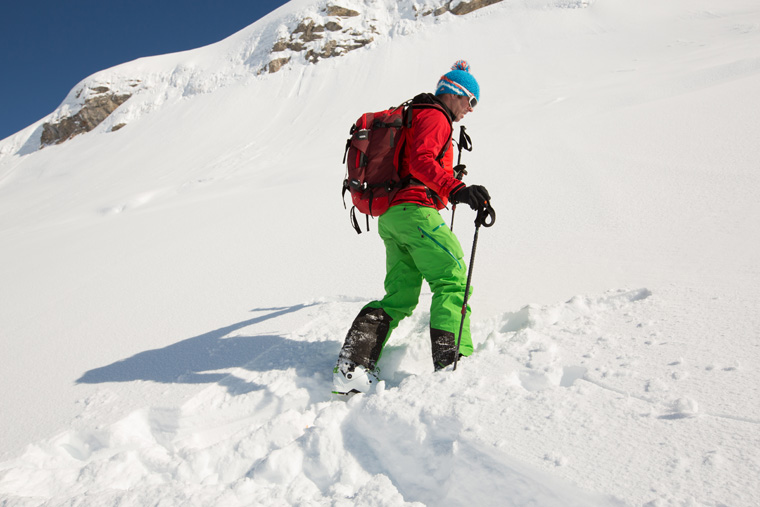
Reposition your downhill pole onto the uphill side, making sure there is enough space to get your second ski round, then transfer your weight to the uphill ski. The most common problem people have is rushing this step, or having their feet too far apart, so reposition your feet if necessary, then transfer the weight.

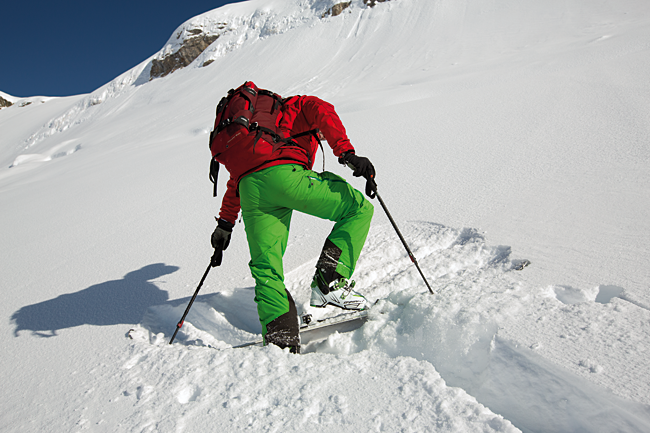
With your weight on the uphill ski, lift the downhill ski off the ground, let it settle, then hold your leg out slightly to the side, so that the ski is completely clear of the snow. Give a gentle kick with your heel if necessary, just enough to flick the tip of the ski up. As it does this, steer the ski round so it is parallel with the other ski and weight it. If you are struggling with this think about trying to kick your bum with your heel, which should help.
How much kick, or even if you need a kick at all, will depend on your binding. With pin bindings the tip of the ski will generally come up on its own when you lift your leg; if it doesn’t a gentle kick is all that’s required to get it moving.
Time to continue skinning in the new direction.